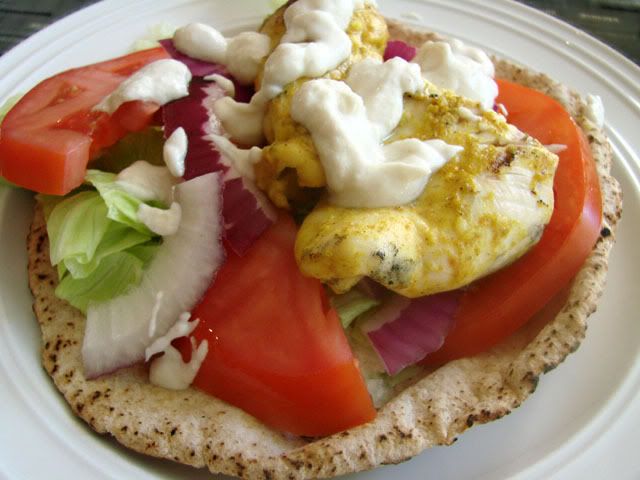
Turkish Chicken Thighs

This recipe was fabulous! I made this for the first time the other night, and it was a huge hit. I have been experimenting quite a bit lately with yoghurt based marinades for meat, because they really tenderize without adding much additional fat to your meal... and well, because they taste really good!
I found this recipe for Turkish Chicken Thighs on the website Eating Well which has tons of great healthy recipes. I had to go out and buy some hot paprika (I found "Hot Hungarian Paprika") and WOW, was it good. It was so much more flavourful than regular paprika. I threw all the rest of my regular paprika out, and I will only be using "Hot Hungarian Paprika" from now on.
Right after I mixed the marinade and tasted it, it had quite a kick to it, and I thought, "uh oh, the kids will never eat this", but after 24 hours in the fridge marinating, it mellowed and the kids never complained about the heat.
The chicken was tender and juicy and the flavour was really great.
The kids were really confused by the name of the recipe, "Turkish Chicken Thighs". Claire said, "well Mom what is it? Like, make up your mind, TURKEY or CHICKEN...." (yes she really did say "like" and she rolled her eyes too). So I explained that Turkey is a country and this recipe combines flavours and spices that are sometimes used in Turkish cuisine. Marco pipes up, "So turkey's eat chicken?" Sigh. This made me think I should try making a Turducken sometime.... THAT would be a fun one to explain.
Turkish Chicken Thighs
8 skinless chicken thighs (I used boneless)
1 tbsp lemon juice
1 cup low-fat plain yogurt
2 cloves garlic, minced
1 tbsp minced fresh ginger
2 tsp hot paprika
1 1/2 tsp dried mint
1/2 tsp salt
1. Mix together lemon juice, yogurt, garlic, ginger, paprika, mint and salt.
2. Place the chicken in a ziploc bag and pour the yogurt mixture over the chicken. Close the bag and mush it around.
3. Refrigerate overnight.
4. Preheat barbeque grill to med-high. Remove chicken from ziploc bag and discard marinade. Grill until chicken is juicy but cooked through (about 15 minutes).
5. Alternately, you could place the chicken on a broiler rack in the oven at 400F for about 15 minutes until cooked. Serve immediately.