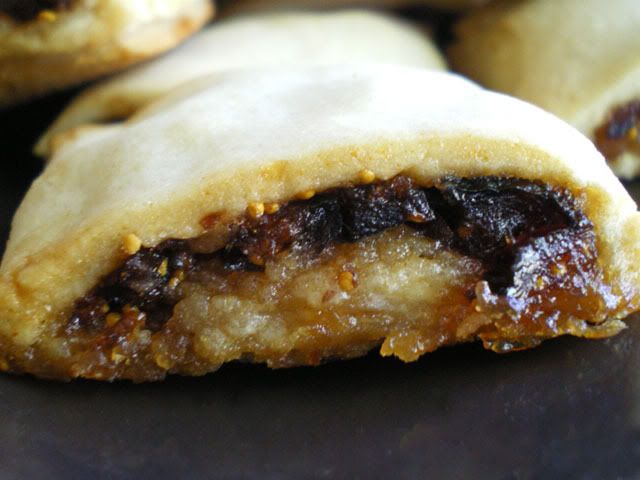
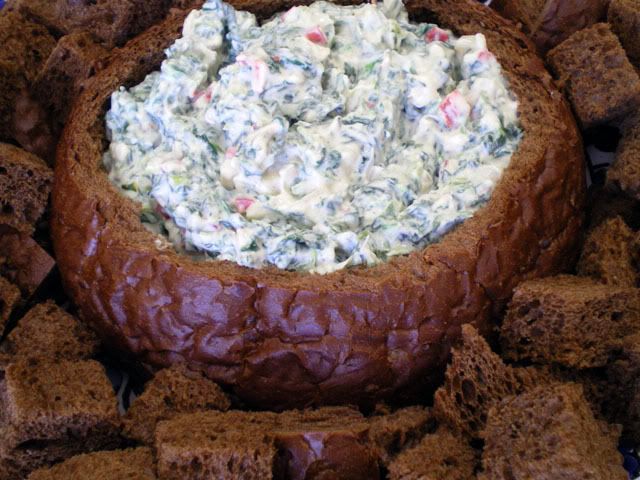
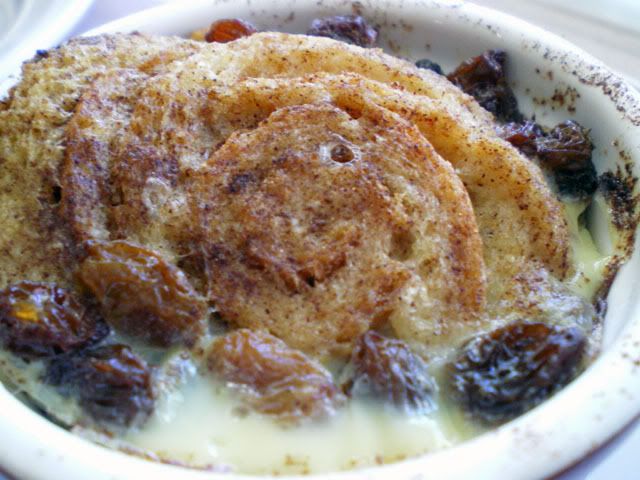
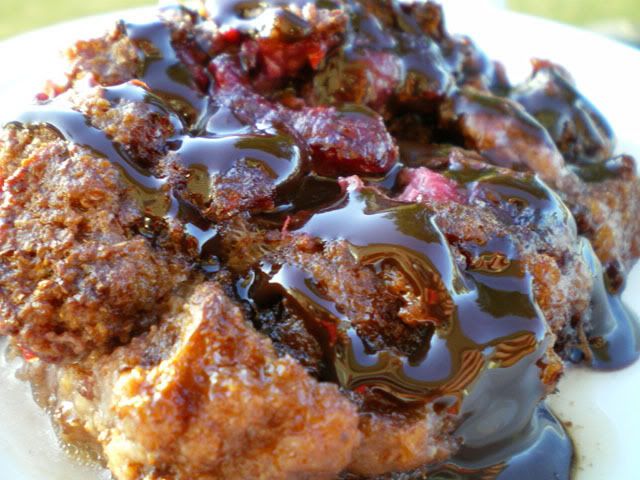
Chocolate Raspberry Banana Bread Pudding
I'm so sorry. I've done it again. I've made another bread pudding. I really can't help myself. "Hi, my name is Janet and I make Bread Pudding". I will soon have to start a new category on my sidebar just for bread puddings, or maybe even another blog. It's as though I see some food item (it can be anything at all) and I immediately start to plot how I could turn it into bread pudding.
Well this time I took a whole bunch of mashed bananas and frozen raspberries out of the freezer on Saturday morning to thaw with plans of making several batches of raspberry banana muffins. But then I thought, why double the muffin recipe when I could make two different things and DOUBLE my opportunities to blog about them! So I made one batch of muffins and the remaining bananas and raspberries sat there on my counter for the rest of the day, taunting me.
I knew I wanted to add chocolate, but I didn't know what else. I thought maybe a banana chocolate raspberry cheesecake would be good, but I didn't have any cream cheese. I tried to get Mario to run to the store for me, but he basically just gave me "the look". He was, after all, too busy doing he-mannish type stuff like cutting the grass, changing outdoor light bulbs and doing laundry (yup you read that right, in our house that's HIS job!) to worry about my banana-raspberry problem. And I was just too lazy to go myself. So I was back at square one.
In the end, originality failed me, and I made a bread pudding. It was pretty darned good though, and I got no complaints on my lack of inspiration from Mario and the kids, who gobbled it all down.
Chocolate Raspberry Banana Bread Pudding
2 cups stale bread, torn into small pieces
2 oz semi sweet chocolate chips
1 cup raspberries (frozen or fresh)
1 ripe banana, mashed
2 cups milk
2 eggs
1 tsp vanilla
1/2 tsp salt
1. Place half of the torn bread in a greased casserole dish, spread the raspberries and mashed bananas on top. Then layer the remaining torn bread on top of that.
2. Heat milk in a small saucepan. Add chocolate chips and stir until melted. Let cool slightly. Mix in eggs, vanilla and salt.
3. Pour milk and egg mixture over the bread and let sit for a few minutes.
4. Bake 350F for about 50 minutes until set. Let sit for about 15 minutes before serving. Top with chocolate sauce.