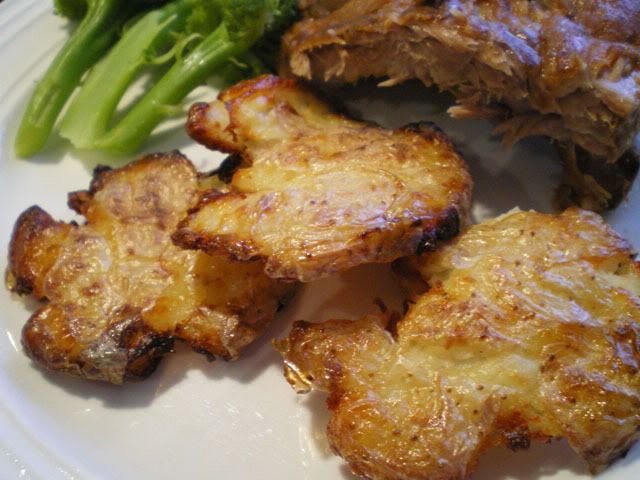
Pork Chops Stuffed with Barley and Apricot

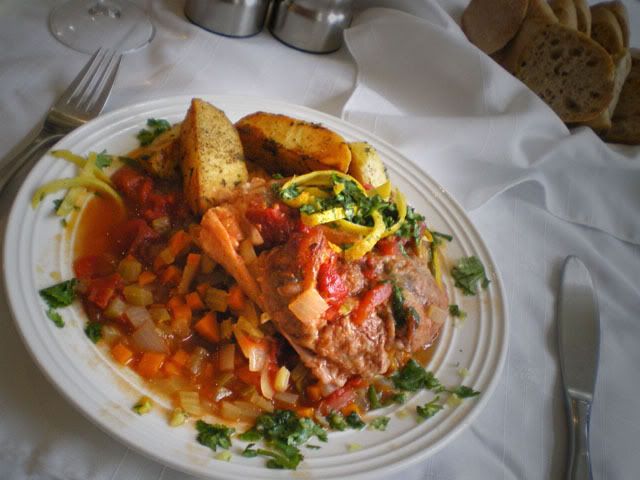
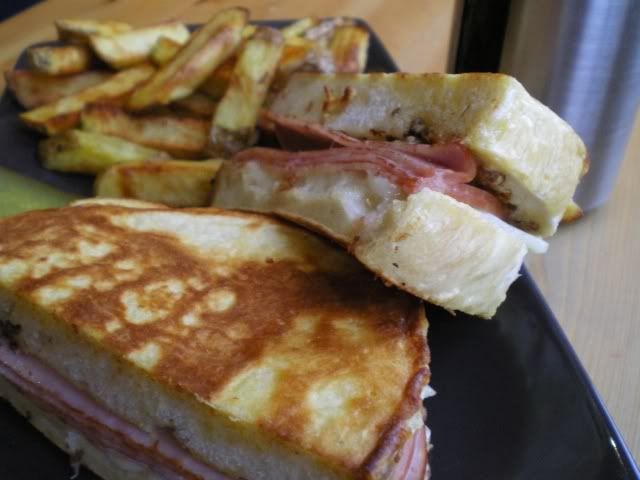
This is another recipe from one of my most dog-eared cookbooks. The New Dieter's Cookbook from Better Homes and Gardens. One of the reasons I love this recipe is because the pork stays so tender and juicy. I made a few small changes to the original recipe. It called for 2 tbsp of quick cooking barley. I can never find that in my grocery store, so I use regular pearl barley. This means you have to cook it in advance and it took a little trial and error to arrive at the right amount. A half cup of cooked barley is about perfect. To get a half cup of cooked barley, simmer 1/4 cup of barley in 3/4 cup of water for about 30 minutes (taste a bit to make sure its nearly tender). This will result in a little more than the required 1/2 cup, but just save the rest and add it to soup another day. Another change I made was the addition of apricot. The recipe called for "mixed dried fruit" but I liked the idea of just one fruit flavour, and chose apricot. This would also be really good with dried apples, and I'm going to try that sometime. In this picture the chops are served with mashed potatoes and sautéed carrots, baby zucchini and yellow sunbursts.
Pork Chops Stuffed with Barley and Apricot
1/4 cup water
1/2 cup cooked barley
1/4 cup onion, diced
2 tbsp dried apricots, chopped
1/2 tsp lemon zest
1/4 tsp salt
2 tbsp fine dry breadcrumbs
1/4 tsp dried thyme
1/4 tsp pepper
2 cloves garlic, minced
4 boneless pork loin chops (cut 3/4" thick)
2 tbsp orange juice
1 tbsp honey
1. In saucepan mix cooked barley, 1/4 cup water, onion, apricot, lemon zest and salt. Bring to a boil and simmer for 5 minutes. Remove from heat and let stand covered for 5 more minutes.
2. Stir in breadcrumbs, thyme, pepper and garlic.
3. With a sharp knife, cut a deep pocket into each pork chop (almost through to the other side).
4. Divide the stuffing between the chops and fill the pockets. Seal with a metal skewer or toothpick.
5. Mix 2 tbsp orange juice with 1 tbsp honey and set aside.
6. Preheat broiler and spray the rack of a broiler pan with cooking spray. Broil for 6 minutes per side.
6. Paint pork chops with orange juice and honey mixture and broil one more minute per side. Remove skewers prior to serving.