I think I should have titled this post "initiation by fire". I recently joined the Daring Bakers. Many of you have heard of them, but for those who haven't, it is a group of food bloggers (about 60 strong) who each month prepare the exact same recipe and post about it on their blogs, all on the same day. Here is the Daring Baker Blogroll.
I have always enjoyed the day the Daring Bakers posts went up. I would read all those blogs and marvel over how the exact same recipe could produce such varying results. Admitedly, I would sometimes snicker to myself in a very smug and superior way when I saw a result that turned out far less favorably than some of the other stellar creations. Well, I humbly beg the forgiveness of each and every Daring Baker that I ever snickered at.
This tart kicked my ass! To make it worse, most of the other Daring Bakers seemed to consider this one of the easier challenges. I have to say, I'm already nervous about next month's challenge.
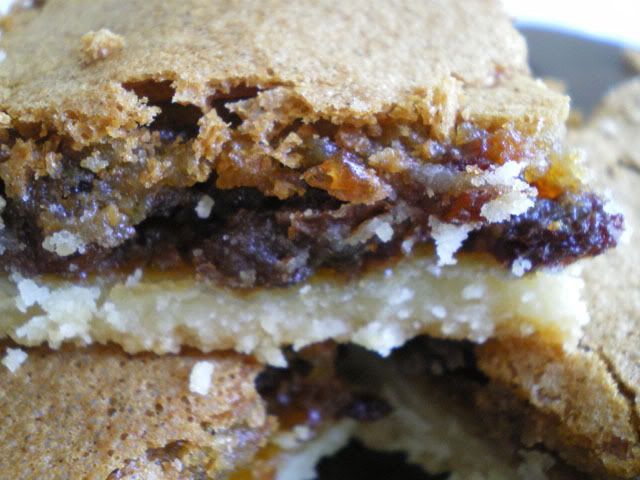
I had quite a bit of trouble with this tart. First, the crust. It was crumbly and very hard to roll out. I had to patchwork it together in the pan. Then, the caramel. I caremelized my sugar just fine, then "la-da-da-da, I'm doing great, I rock, this is so easy..." I pour the cream in.... "holy.... what the....?!?!". Everything seized up instantly. Took me forever to get it all melted again. Then it didn't set properly.
Then there was the mousse, and this layer was my own fault, I should have known better. I whipped the cream to perfection, and melted my chocolate. Then added it to the cream... and the cream all deflated. I should have cooled the chocolate first. I knew that, but the recipe DIDN'T SAY SO, and I was just so determined to follow the recipe to the letter.
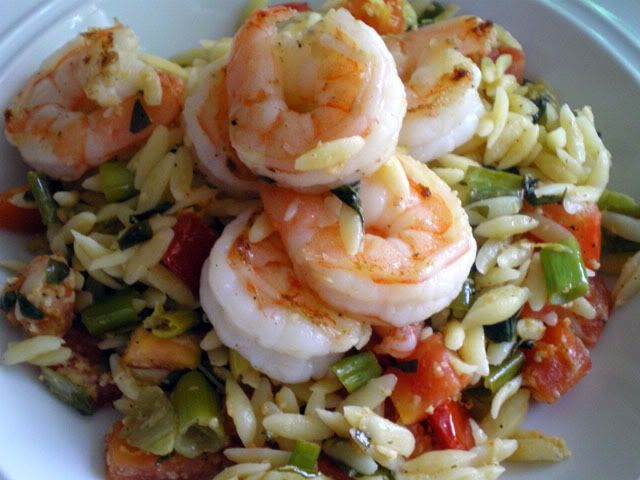
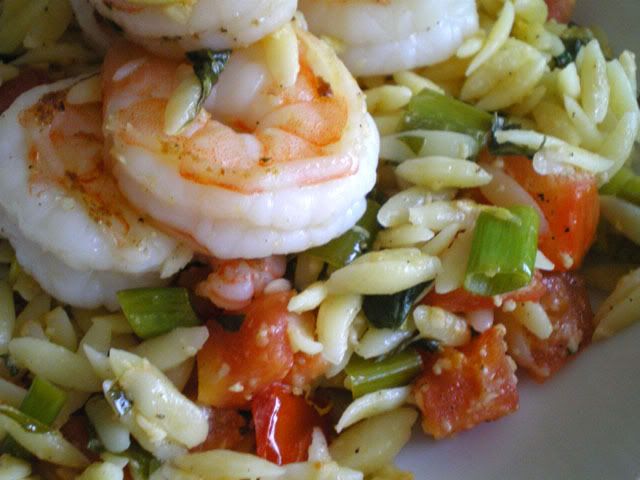
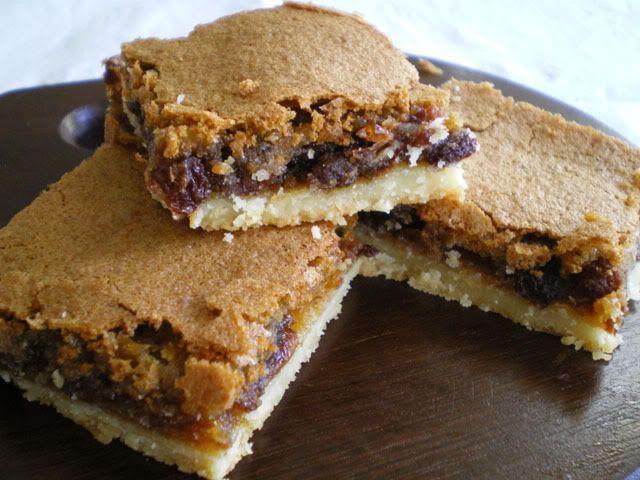
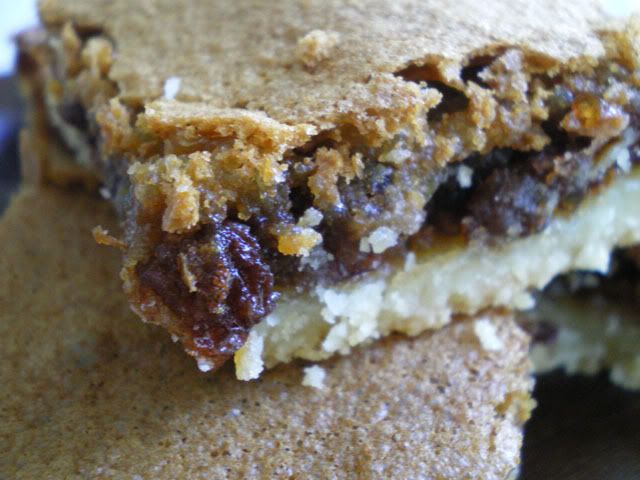
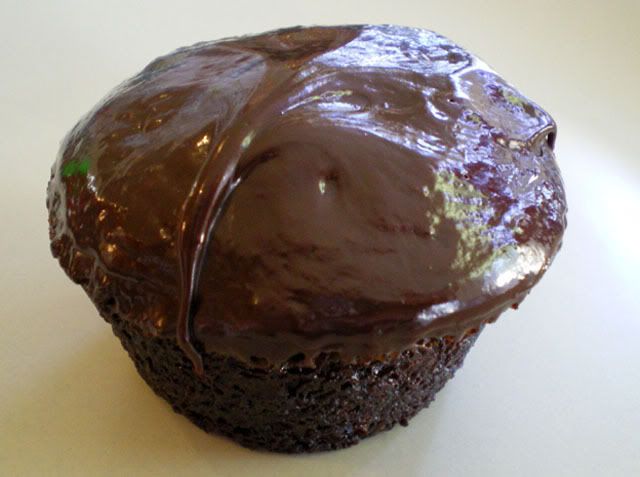
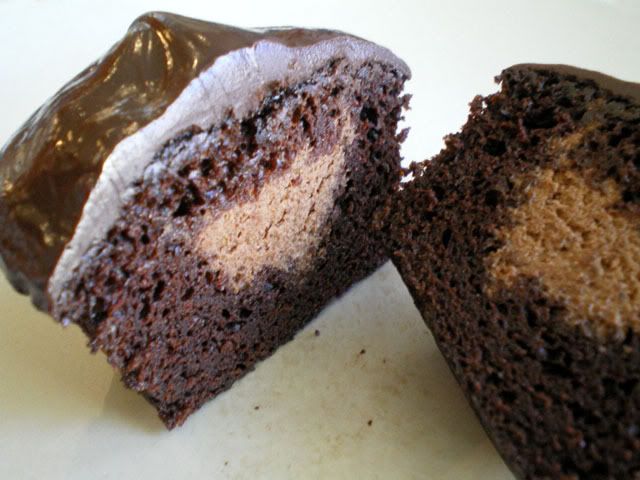
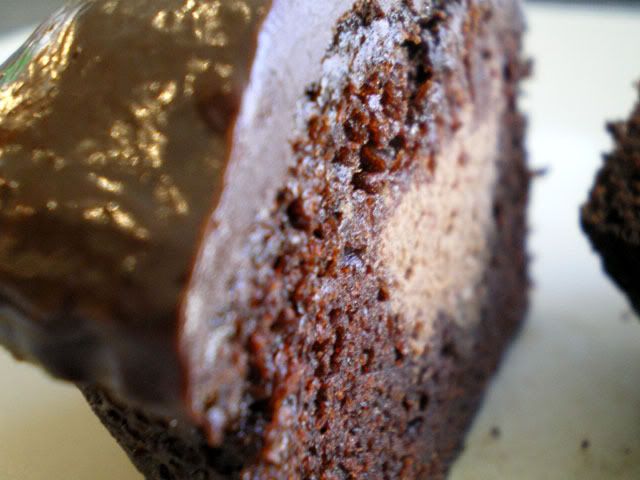
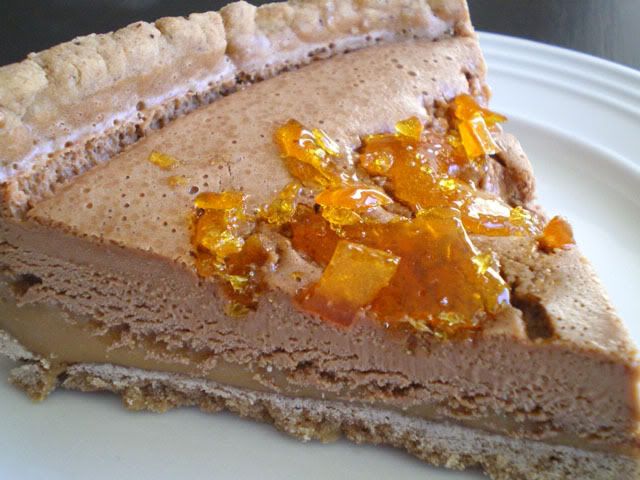
I served this tart to guests. The good news is, it tasted really good. The bad news, I had to kind of slop it onto peoples plates and it looked nothing like a piece of a pie. Note: I froze the leftovers and cut a frozen slice, just to get a decent picture, but most of the caramel had already run out.
I am honestly dreading all the other Daring Baker posts today, I'm sure everyone else's challenge turned out perfectly.
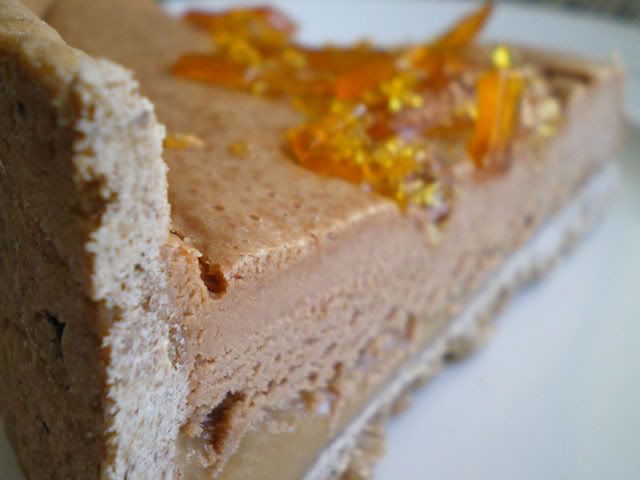
Milk Chocolate and Caramel Tart
Preparation time: 40 minutes
Baking Time: 30 minutes
Refrigeration time: 1 hour
One 9-inch(24-cm) square pan; 1 10-inch (26-cm) round baking pan
Ingredients:
½ lb (250 g) chocolate shortbread pastry (see recipe below)
1 ½ cups (300 g) granulated sugar
1 cup (250 g) heavy cream (30-40 percent butterfat) or crème fraiche
¼ cup (50 g) butter
2 whole eggs
1 egg yolk
2 ½ tablespoons (15 g) flour
1 ¼ cups (300 g) whipping cream
½ lb (250 g) milk chocolate
1. Preheat oven to 325 °F (160 °C).
2. Line the baking pan with the chocolate shortbread pastry and bake blind for 15 minutes.
3. In a saucepan, caramelize 1 cup (200 g) granulated sugar using the dry method until it turns a golden caramel color. Incorporate the heavy cream or crème fraiche and then add butter. Mix thoroughly. Set aside to cool.
4. In a mixing bowl, beat the whole eggs with the extra egg yolk, then incorporate the flour.
5. Pour this into the cream-caramel mixture and mix thoroughly.
6. Spread it out in the tart shell and bake for 15 minutes. Remove from oven and allow to cool.
7. Prepare the milk chocolate mousse: beat the whipping cream until stiff. Melt the milk chocolate in the microwave or in a bain-marie, and fold it gently into the whipped cream.
8. Pour the chocolate mousse over the cooled caramel mixture, smoothing it with a spatula. Chill for one hour in the refrigerator.
To decorate: melt ½ cup (100g) granulated sugar in a saucepan until it reaches an amber color. Pour it onto waxed paper laid out on a flat surface. Leave to cool. Break it into small fragments and stick them lightly into the top of the tart.
Chocolate Shortbread Pastry
Preparation time: 10 minutes
Refrigeration :overnight
To make 3 tarts, 9 ½ inches (24 cm) square
or 10 inches (26 cm round)
Ingredients:
1 cup (250g ) unsalted butter, softened
1 cup plus 2 tablespoons (150 g) confectioners’ sugar
½ cup (50 g) ground hazelnuts
2 level teaspoons (5 g) ground cinnamon
2 eggs
4 ½ cups (400 g) cake flour
2 ½ teaspoons (10 g) baking powder
1 ½ tablespoons (10 g) cocoa powder
A day ahead:
1. In a mixing bowl of a food processor, cream the butter.
2. Add the confectioners’ sugar, the ground hazelnuts, and the cinnamon, and mix together
3. Add the eggs, one by one, mixing constantly
4. Sift in the flour, the baking powder, and the cocoa powder, and mix well.
5. Form a ball with the dough, cover in plastic wrap, and chill overnight.